Uploading and Configuring Your Property Map
A property map is an uploaded image (aerial photo, marina diagram, campground map) with assets pinned at real coordinates. It powers visual booking — staff and customers click directly on a slip or site to start a reservation, instead of scrolling a list.
Maps are optional. The system works fine without them. But once you have one, it becomes the primary way most users interact with availability. They're worth investing an hour in.
When you'd use this
Set up a property map when:
- Your inventory is physically organized in space in a way customers and staff need to navigate (a marina has docks A through F, a campground has sections, a self-storage has buildings).
- You have enough assets that scrolling a list is annoying — somewhere over ~20.
- You want customers to self-book through a public-facing visual flow.
Skip the map (or keep it for staff use only) when:
- You have a handful of identical assets where spatial layout doesn't matter (a fleet of 10 identical kayaks, for example).
- You don't have a usable image of your property and don't want to make one.
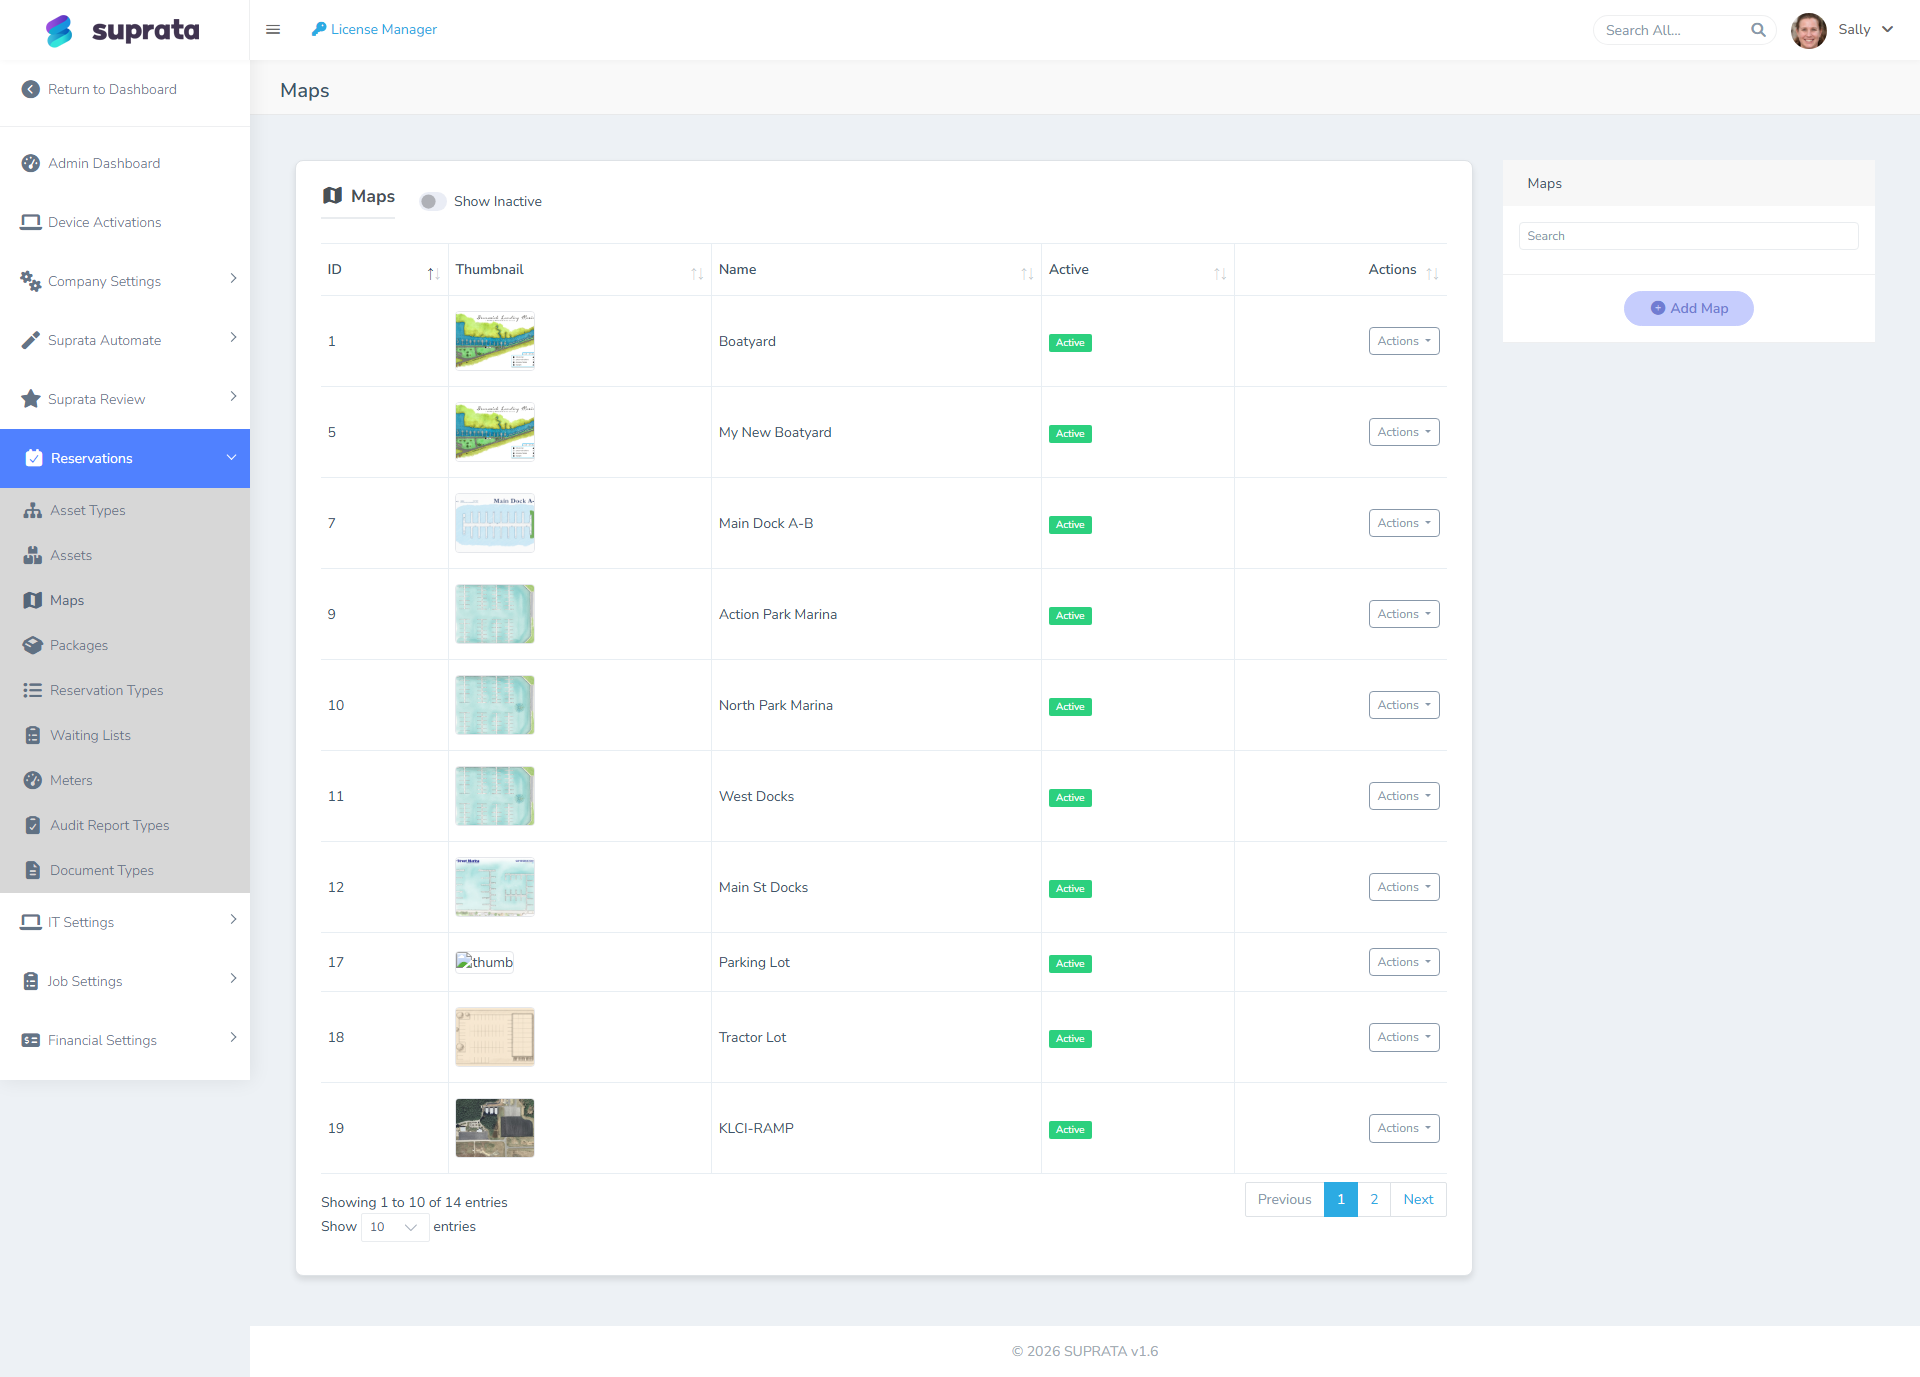
The image you upload matters more than people expect
Pins are placed relative to the image you upload. That has a few real consequences:
- If you swap the image later, every pin moves. Plan to use the same image for years. Get it right the first time.
- Resolution matters. Too small and the map looks blurry on customer-facing screens. Too large and pages load slowly. Aim for something around 1500–2500 pixels on the long side.
- Aspect ratio should match your property. A square photo of a long, thin marina wastes screen real estate.
- The image should look professional. Customers see this. A blurry phone photo of a printed paper map is a terrible first impression. Get a real aerial (a Google Earth screenshot at high zoom is fine), or have a designer trace a clean diagram from your site plan.
Recommended image sources, ranked
- Drone aerial of your property, taken on a clear day at midday (no shadows). Best option if you have access — the realism is unbeatable.
- Google Earth or satellite imagery screenshot at maximum zoom, then cropped tight. Free, fast, looks credible.
- A clean traced diagram based on your site plan. Best for storage facilities and indoor layouts where photographs are uninformative.
- Hand-drawn or printed paper map photographed. Avoid if at all possible. Looks unprofessional.
Setting up the map — the typical flow
- Choose the image following the guidance above.
- Upload it. The map is keyed by name; pick something descriptive ("Main Marina", "RV Park West", "Storage Building A") because you may have multiple maps for different parts of the property.
- Check the upload looks right in the map viewer at full zoom. Scrolling, pinch-zoom, and pan should all behave reasonably. If the image is too small or too large, fix it before proceeding.
- Draw zones (optional but recommended). A zone is a named region of the map — "Dock A", "Section 100s", "Climate Building." Zones are useful for grouping in reports and for filtered searches ("show me availability on Dock A only"). Draw them by clicking corners on the map; the system stores the polygon.
- Pin each asset where it lives on the map. Drop a pin for each existing asset at its real location. The pin sticks to its spot on the image, so as long as you don't replace the image, your pins stay put.
- Test from a customer's perspective. Open the public booking flow and confirm the map renders, that pins look right, and that clicking a pin starts a booking for the right asset.
Recommended defaults
- One map per property/section, not one map per asset. You shouldn't end up with 50 maps. If your property is large, split it into 2–4 logical regions max.
- Don't draw too many zones. A zone for every dock plus a zone for every section number is too many. 5–10 zones max for most properties; one for each major area customers think about ("North Dock," "South Dock," "Mooring Field").
- Use the same compass orientation as your real property — usually north up. Customers comparing the digital map to standing-on-site reality get confused if the map is rotated.
Restricting a slot to a package
If your map uses slots (drawn placeholder spaces you drop reservations into, rather than free-floating pins), each slot can be restricted to one or more packages — alongside the existing restriction to asset types. Edit a slot and you'll find an Allowed Packages picker next to Allowed Asset Types. Leave it blank and any package can go there; pick one or more and the slot is reserved for them.
This is how you model "this row of slips is sold only as the Weekly Stay" or "these three sites are the Monthly Boat Storage block" without policing it by memory. Two things follow from setting it:
- Dropping the wrong package warns, but doesn't block. Drag a reservation whose package isn't on the slot's list and you get the same override/cancel prompt you'd get for a size mismatch — it tells you what the slot is meant for and lets you proceed anyway. This is deliberate: a package constraint is a strong guideline, not a locked door. Real operations need the override (a regular asks for the corner slip, a one-off exception comes up), so we warn instead of refusing. Asset-type mismatches still hard-block — a 40-foot boat physically does not fit a 24-foot slip — but a package is a billing label, so it bends.
Don't over-restrict. If you pin every slot to exactly one package, you've rebuilt a rigid assignment grid and lost the flexibility a map is supposed to give you. Use package restrictions for the rows where it genuinely matters (a dedicated long-stay block, a premium row) and leave the rest open.
Labeling empty slots with an icon
An empty slot is just an outline — fine on a small map, hard to read on a big one. Each slot has a Slot Icon: a letter or two plus a color, shown faintly in the middle of the slot whenever it's empty. Use it to label rows at a glance — "G" in green for the guest dock, "S" in grey for staff spots, "1"/"2"/"3" for sections.
The icon builder is in the slot editor, under the booking fields: type the glyph, pick a color, or hit Reuse… to copy an icon you've already used elsewhere on this map (so the whole guest dock stays the same green "G" without re-picking the color each time). It's purely a visual label — it doesn't restrict anything. Booked slots ignore it and show the reservation's package icon instead; the slot icon only fills in when the slot is open.
Editing many slots at once
Setting capacity, allowed asset types, allowed packages, or size limits one slot at a time is tedious when a whole dock shares the same rules. Two shortcuts:
- Bulk edit. In the slot editor, marquee-drag (or shift-click) to select several slots, and the panel switches to a bulk-edit form. Tick only the fields you want to change — Set Capacity, Set Allowed Packages, Set Slot Icon, and so on — set the values, and Apply. Unticked fields are left exactly as they were on each slot, so you can push one shared setting (say, the same green "G" icon on all forty guest slips) without disturbing their individual names, positions, or other rules.
- Copy/paste. Select a slot (or several), Ctrl-C, Ctrl-V. The duplicates land slightly offset with auto-incremented names, and they carry the original's settings — capacity, allowed asset types, allowed packages, and the slot icon. Draw one slip the way you like it, then paste the rest of the dock.
- Rotate. Select one or more slots and use the rotate buttons (top-right of the slot panel) to turn them in 15° steps. With several selected they rotate together around the group's center — handy for angling a whole dock finger to match the aerial photo.
What customers see
Once the map is published, customers visit your booking page and see a clickable rendering: zones outlined, assets pinned, color-coded by availability for the dates they've selected. They click a pin, the booking wizard opens for that asset. It's a much better experience than a search list.
You can keep the map staff-only if you only want internal booking through it — that's a configuration choice in the map's settings.
Closing a slot temporarily
Sometimes a slot needs to come out of service for a while without being deleted — a slip under repair, a campsite being re-graded, a dock that's dredging next month, a space you're holding back. Deleting the slot is wrong (you'd lose its position, its history, its settings, and have to redraw it). Closing it is right.
Open Slot Closures (the button on the Maps page). Pick the map, select the slot or slots, set a From and To date — or tick Indefinite if you don't know when it'll reopen — add a reason, and close them. On the booking map, a closed slot gets a red X for every date inside the window, so staff can see it's unavailable without reading a note. Outside the window the slot behaves normally, so a closure scheduled for next month doesn't block this week.
A closure actually blocks bookings — it isn't just a visual warning. You can't drag an asset into a closed slot in the booking wizard or on the map viewer, you can't move an existing booking into one, and the block holds on the server, so it can't be clicked past. The refusal names the window and your reason ("That space is closed Nov 1, 2026 – Apr 1, 2027 (Dock repair)"), which is the entire reason it's worth typing a real reason instead of "maintenance".
This is a hard block with no override, and that's deliberate. Other slot rules — asset-type restrictions, package restrictions — warn you and let you proceed, because a flex berth is meant to be flexible and staff know things the system doesn't. A closure is different: if the dock is being rebuilt, no amount of staff judgement puts a boat there. If you genuinely need to book a closed slot, delete the closure first. That's a deliberate, logged act rather than a click-through nobody remembers.
Closures are date-range aware, not just "closed today". If you're looking at the map on October 28 and try to place a stay that runs November 1–20 into a slip closed for November, it's refused — even though the slip shows no red X on the day you're viewing. The system checks the guest's whole stay against the closure window, not the date on screen. The one boundary worth knowing: a guest checking out the morning a closure opens is fine. They're gone before the work starts, so that changeover day isn't wasted.
Closing a slot someone is already booked into
If any existing reservations overlap the window you're closing, saving stops and shows you exactly which ones — slot, guest, and dates — before anything is written. You can confirm and close anyway.
Those bookings are not moved or cancelled. They keep their slot, and closing it doesn't touch them. The closure only prevents new bookings from landing there. This is intentional: closures are often emergencies (a dock fails, a site floods), and refusing to record one because a guest is booked would be worse than telling you who needs relocating. Moving those guests is your call, and the warning list is your worklist.
Closures are reversible: remove one from the same page and the slot is immediately bookable again. Use a real reason ("Dock C dredging", "A-7 cleat repair") — future-you will want to know why a slip was dark, and staff hitting the block will see that text.
Using closures for seasons
There's no separate "seasonal" setting — a season is just a date range, and a winter closure that spans New Year is one closure from (say) November 1 to April 1. Closures don't repeat automatically, so a genuinely annual shutdown means adding next year's window when you're ready. That's usually what you want anyway: dates shift, and a closure that silently reappeared every year is the kind of thing that blocks a booking nobody can explain.
Common mistakes
- Uploading a tiny phone photo of a printed paper map. It looks like a photocopy of a fax. Customers don't trust the booking page after seeing this. Spend the 30 minutes to get a clean image.
- Pinning assets before deciding on the final image. Then re-uploading a corrected image and watching every pin land in the wrong spot. Get the image right first; pin afterward.
- Drawing zones for organizational purposes that don't match what customers care about. Internal zones ("electric panel zone 3") are useless to customers. Zones should be the labels customers use ("North Beach", "RV Section").
- Forgetting that zones can also be used for technician dispatch. If you also run mobile service work, the same zones can drive routing. Draw zones around real-world boundaries (a section, a dock, a building) so they're useful for both bookings and dispatch.
- Treating the map as the only way to book. Some staff and customers prefer a list. Both views work; don't disable the list view just because you have a map.
- Not re-anchoring pins after a layout change. When you renumber Dock A or rebuild section 100, the physical layout changed; you need to update both the asset records and their pin locations.
- Deleting a slot instead of closing it. Deleting loses the position, the history, and every setting on it, and you'll redraw it by hand when the work finishes. If it's coming back, close it.
- Writing "maintenance" as the closure reason. Staff who hit the block see that text, and it tells them nothing about when it'll clear or who to ask. "Dock C dredging — reopens April" answers the question before it's asked.
- Assuming a closure moves the guests already in that slot. It doesn't, on purpose. You get a warning listing who overlaps; relocating them is a separate, manual decision.