Creating your first job
A job — sometimes called a work order — is the central operational unit in Suprata. It's the row that ties together a customer, what work needs doing, when it's scheduled, who's doing it, what time and parts go against it, and ultimately the invoice that bills for it. Most of your daily activity in the system revolves around creating, updating, and closing jobs.
Creating one is fast (under a minute once you've done it a few times). But the first one is worth slowing down for, because the choices you make at job creation — type, business unit, location — shape what happens automatically afterwards.
When you'd create a job
- A customer calls or emails wanting service.
- A scheduled maintenance visit comes due (often these are auto-generated from a service agreement, but ad-hoc visits start here).
- An estimate gets approved and you need to convert it into actual work.
- A recall or follow-up on previously closed work needs handling — create a new job tied to the same account, don't reopen the closed one.
Before you start: what you need
Have these decided before you click "Create":
- Which customer? They should already exist as an Account in the system. If they don't, you can create the Account in the same flow, but it's cleaner to create the Account first if it's a brand-new customer (more fields, fewer accidents).
- Job type. This drives a lot of automation — which industry-specific forms attach (HVAC eval, marine boat info, IT equipment list, etc.), which default workflow runs, even sometimes which department it routes to.
- Business unit (only if you have more than one). Tags the job for revenue reporting and possibly for which template/letterhead its outputs use.
- A summary of the work. A sentence or two — "AC not cooling, customer says it stopped Sunday." This is what your dispatcher and tech will read first.
- A service location. Often the same as the customer's billing address, but not always (rentals, secondary properties, commercial sites with multiple buildings).
If you don't have all of these, that's fine — start the job and fill them in as you go. But starting with the job type wrong means an immediate fix afterwards.
The typical flow
The new-job flow is a multi-step form with three sections:
- Select Account — search by name, phone, or email. If the customer doesn't exist, click Create New Account to add them inline.
- Job Type & Business Unit — pick from the dropdowns. Both come from your settings (Job Settings → Job Types, Company Settings → Business Units).
- Job Details — write the job summary, choose or add a Service Location, optionally schedule one or more appointments, and apply tags.
Save the job. The system then:
- Creates the job record.
- Auto-attaches any industry forms that are mapped to that job type (per Job Settings → Job Type Forms).
- Sets the initial status (typically "New" or "Unscheduled" — see the Job statuses and what each one means article).
- Logs the creation in the job's audit history.
If you scheduled an appointment as part of the flow, the job's status will automatically advance to "Scheduled" and the appointment will show up on the dispatch board.
Where the job goes after you create it
This is the part new users find unintuitive: there isn't a single "Jobs Inbox" you stare at all day. Jobs live in several places depending on what you're doing:
The dispatch board
For "what's happening today and who's working on it", use the Dispatch sidebar item.

A timeline view from morning to evening, broken into rows by team and tech. Each colored block is an appointment. Unassigned work sits at the top — drag it onto a tech to assign. This is the primary "operations" view for dispatchers and managers.
The calendar
For a longer planning horizon, use the Calendar sidebar item.
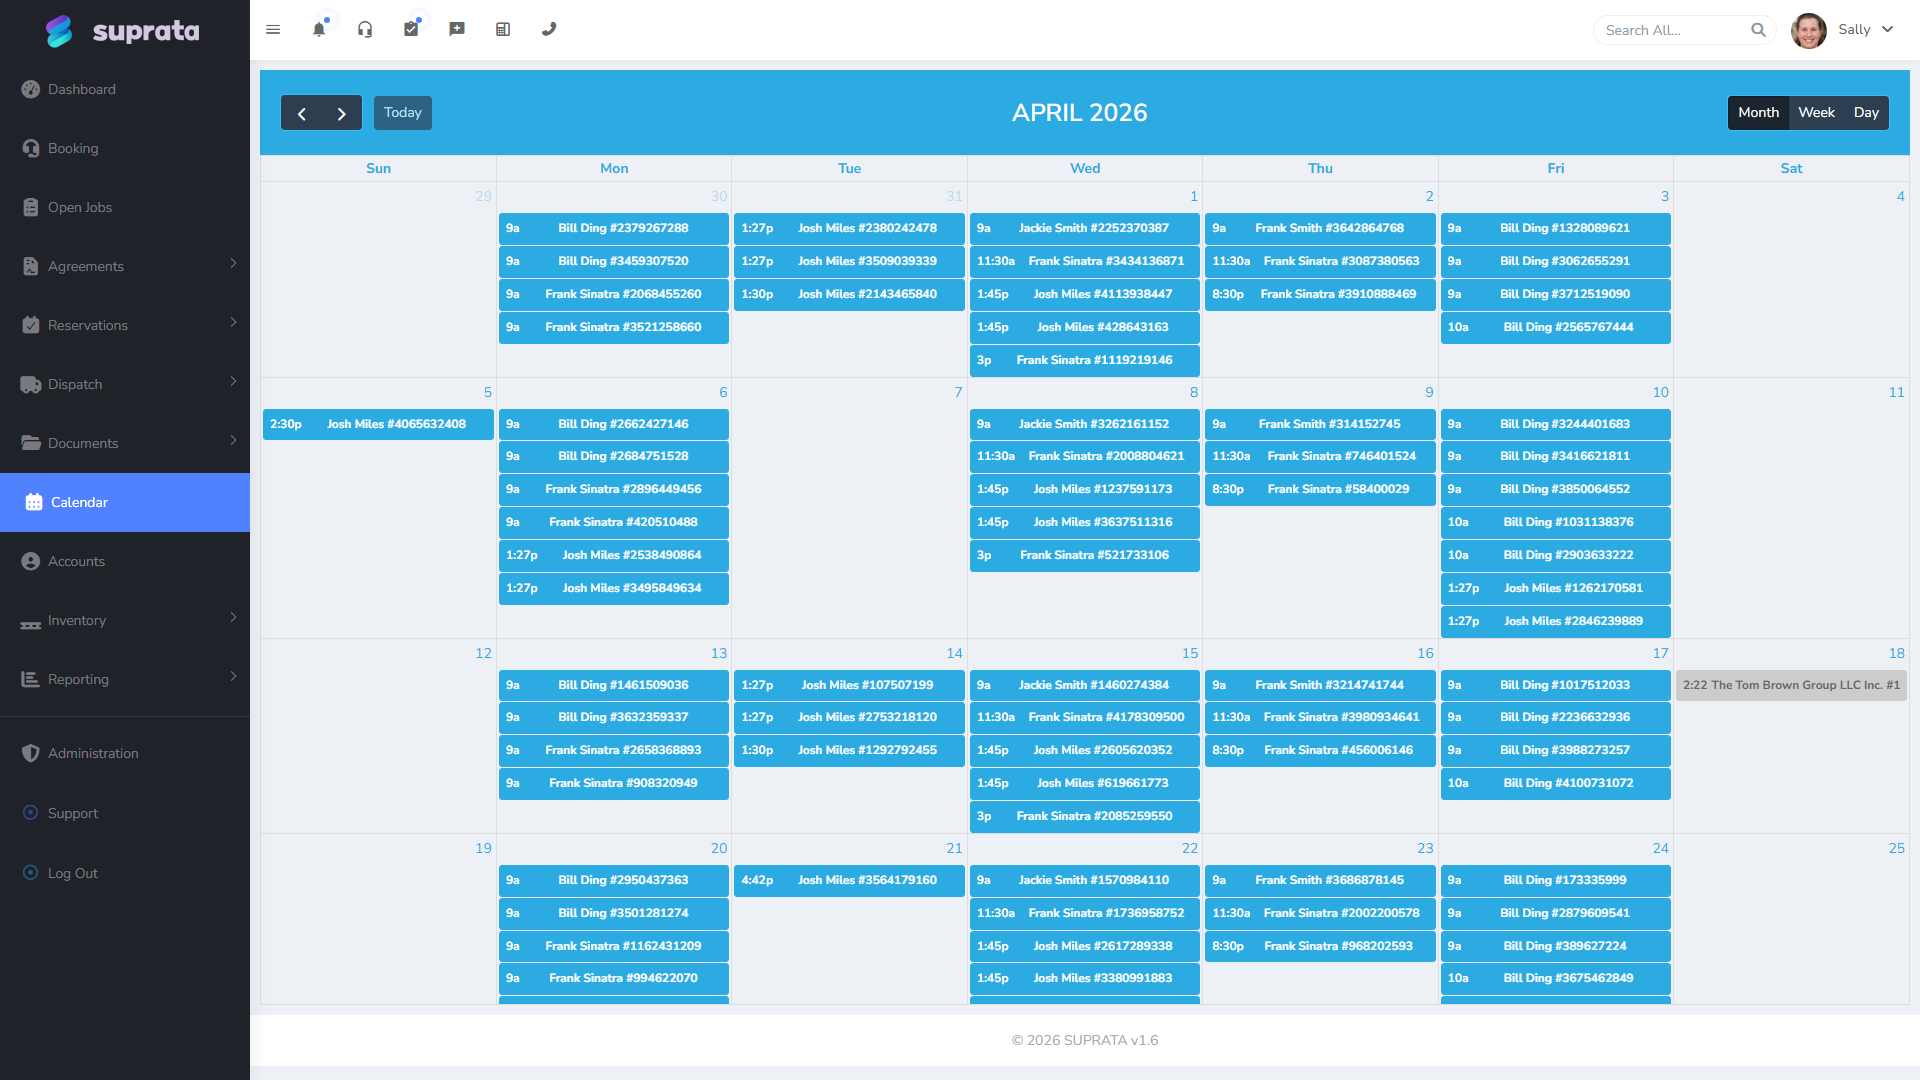
Switch between Month, Week, and Day views in the top-right. Useful for spotting capacity issues a week or two out, or for seeing density across the month.
The account dashboard
For "what's the history with this customer?", open the customer's Account. The Account dashboard has a Jobs tab listing every job ever done for them — open, closed, recalled, the lot.
The sidebar's "Open Jobs"
A filtered list of jobs that are currently active (not closed, not cancelled). Useful as a daily triage list — "what do I owe somebody an answer on?"
Service Locations — the part everyone underuses
A Service Location is where the work happens. It's separate from the customer's Account address because:
- Commercial customers often have multiple sites under one Account.
- Property managers have dozens of properties under one Account.
- Even residential customers occasionally need work at a second home or rental property.
When you add a Service Location, the system geocodes it (so it shows on maps and feeds GPS routing). If you skip the location, the job inherits the Account's billing address by default — fine for residential, sometimes wrong for commercial.
Reuse Service Locations across jobs. Don't create a new one each time for the same address — the auto-suggest dropdown shows existing locations as you type. Picking the existing one keeps job history per location intact.
The Job Summary — what to write
The summary is what your dispatcher reads first and your tech reads en route. Treat it like the subject line of an email: it should let someone walk in cold and understand what's needed.
Good summary: "Whirlpool oven not heating; customer reports clicking sound. Two-year-old unit, model WG345; warranty likely valid."
Bad summary: "AC issue."
If you're tempted to be terse because you're in a rush, do this: spend the extra 20 seconds on a good summary so your dispatcher doesn't have to call the customer back to ask what's wrong.
Job Tags — when to use them
Tags are short colored labels you apply to a job that show up in lists and on the dispatch board. Use them for:
- Special handling: "Gate Code Required", "Big Dog On Site", "Customer Hard of Hearing".
- Cross-cutting categorization: "Warranty Work", "Insurance Claim", "Reseller Project".
- Operational flags: "Needs Two Techs", "Heavy Lift".
Don't use tags for things that already have a structured field. If a job is for a particular jobtype, that's what the type field is for; don't tag it on top of that.
Common mistakes
- Picking the wrong job type and not fixing it. The wrong job type means the wrong industry forms attach (or the right ones don't). Fix it the moment you notice — the longer the job is open with the wrong type, the more cleanup it takes.
- Putting the customer's name in the Job Summary instead of describing the work. The summary should describe what's needed, not who it's for — the system already knows who.
- Creating duplicate Accounts because the search didn't find an existing one. Search by phone first (most reliable), then last name, then email. If none of those find anything, then create the Account.
- Skipping the Service Location. Then your tech navigates to the wrong building, your route optimizer has no geocode to work with, and your "jobs by location" report is missing this one.
- Scheduling the appointment in the same flow without checking the tech's availability. The dispatch board has the canonical availability picture; the appointment-during-job-creation form doesn't always show conflicts. If you're not sure, save the job unscheduled, then go to dispatch to schedule.
- Writing the job summary as instructions for the tech. Don't put "Tech: bring spare gasket" in the summary. Put it in a job note instead. The summary is "what is the work?", not "what should the tech bring?".
After the job is created
Typical next steps:
- Schedule it (if you didn't during creation) — drag onto the dispatch board.
- Add any required attachments — pre-existing photos, warranty documents, customer correspondence.
- Confirm with the customer — many businesses send an automatic appointment-confirmation email/SMS. Check that this happened and didn't bounce.
- The tech does the work — updates status to In Progress, logs time, captures signatures and photos.
- Close the job — update status to Complete, which usually triggers invoice creation.
Related articles
- Job statuses and what each one means
- The anatomy of an Account vs. a Contact
- Setting up job types (forthcoming)
- Scheduling and the dispatch board (forthcoming)
- Industry forms — what attaches when (forthcoming)