Onboarding a Residential Customer
The phone rings. It's a homeowner you've never spoken to before. Their AC went out, or their pipe is leaking, or their heater's making a weird noise. Over the next three to five minutes you need to turn that conversation into a clean record in your system — an Account, a Contact, an appointment, a confirmation, and enough captured information that the tech who arrives tomorrow doesn't have to phone the customer again to ask "wait, is it a heat pump or a furnace?"
Done quickly and correctly, this whole onboarding takes about five minutes and gives you a customer relationship you can build on. Done sloppily, you create a duplicate account, miss the address, lose the email, send the wrong tech, and spend more time fixing it next week than you would have spent doing it right today.
Why this matters more than it looks
The five minutes you spend on a new customer's first intake call is the most leveraged five minutes you'll ever spend on that customer. Everything downstream — every invoice that gets paid, every appointment that gets confirmed, every reminder that gets through, every review you ever ask for — depends on the data you captured during this call.
Sloppy intake is the original sin of CRM. The duplicate Account you create today because you didn't search first becomes the fragmented job history you can't piece together next year. The misspelled email becomes the bounced invoice next month. The "I'll get the address from the GPS later" becomes the tech driving to the wrong house. None of these are recoverable without effort, and many are never recovered.
So slow down on this one call. The next four hundred customer interactions will be smoother for it.
Step 1 — Search before you create
The first thing your fingers should do when a new caller starts talking is open the search bar and type their phone number, then their name, then their address. Search by all three independently if needed.
Why three searches? Because:
- Phone matches catch returning customers who called from the same number.
- Name matches catch customers who have a new phone number but the same identity.
- Address matches catch the new owner of a property where you've worked before — the previous owner may be in your system, and the property history can sometimes be useful (though it's a separate Account; one property doesn't mean one Account forever).
Most of the time, the search comes up empty and you can confidently create a new record. Sometimes it surfaces an existing customer the caller forgot to mention. Occasionally it catches a near-duplicate that needs a moment of judgment ("is this them, or a relative with the same last name and a similar address?").
Don't skip this step because the customer says "I've never called you before." They might have. Their spouse might have. They might have called you under a different last name. The search is the cheap insurance.
See Searching and filtering accounts and contacts for search tactics.
Step 2 — Create the Account, with the right type
Once you're sure they're new, create the Account. Pick Residential as the type — this matters because the display name logic for residential accounts is different from commercial. Residential accounts identify by the contact's name (e.g., "Jim, Bob") rather than an organization name. See The anatomy of an Account vs. a Contact if this distinction is fuzzy.
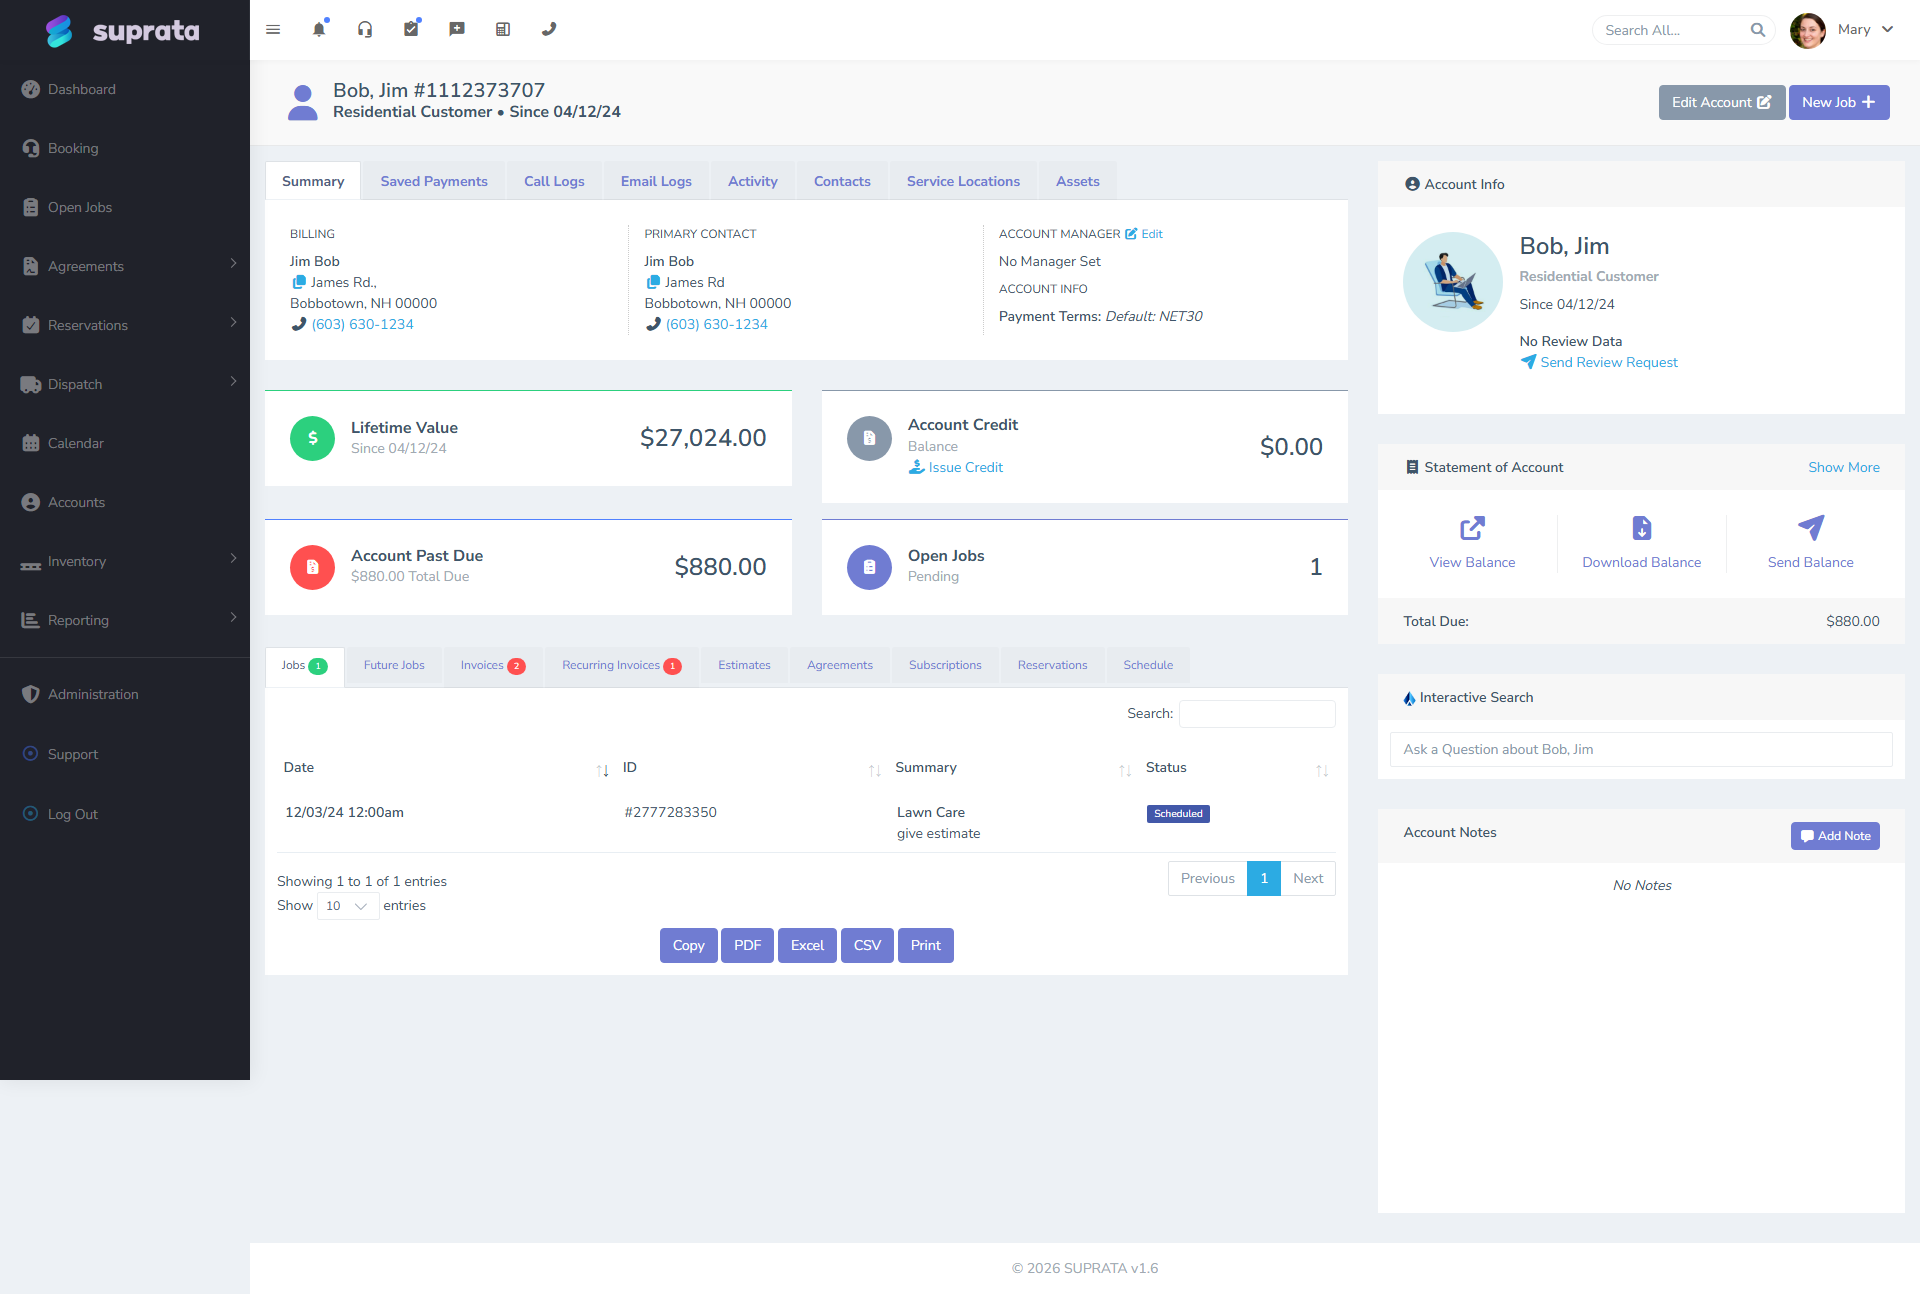
A real-world example as you fill it in: meet Bob Jim, our sample residential customer.
Capture as you talk:
- Name of the primary contact (the person you're on the phone with). First and last, separately. Don't type "Bob & Mary Jim" into the name fields — make Bob one Contact, add Mary as a second Contact later if relevant.
- Phone. The number they're calling from is usually fine; verify ("just to confirm, the best number to reach you at is the one you're calling from?"). Capture mobile if different — it matters for SMS confirmations.
- Email. Don't skip this. The system will email confirmations and invoices to it. If they don't have email, say so explicitly in a note on the account ("no email — call to confirm appointments"). Don't leave it blank without explanation, or future-you will assume the empty field is an oversight.
- Service address. The actual house. Verify by reading it back. The address is what every appointment will geocode against and what your tech will navigate to — getting it wrong on day one means getting it wrong every visit until you fix it.
- Billing address. If different from service address (rare for residential, but possible — some customers want bills mailed to a P.O. box or a different residence), capture both.
Step 3 — Capture the Contact (or contacts)
The Account is the household; the Contact is the person. For a residential customer, you'll typically have one or two Contacts:
- Just the caller. Single homeowner, or one person who handles all the service stuff for the household.
- Two adults in the household. Both should be Contacts on the Account. One marked primary (whoever's on the phone now usually). Each can have their own email, their own phone, their own preferences. Then "should we text Mary or Bob about confirmations?" has an answer in the system.
Don't be tempted to skip the second Contact because "the other person doesn't really deal with this stuff." A year from now when the primary moves out and the secondary calls, you don't want to recreate the whole record.
Capture per Contact:
- First and last name.
- Personal phone (if different from the Account's main).
- Personal email.
- Any preferences ("prefers texts", "speaks Spanish", "best to call in the evening").
Step 4 — Set terms and tax category
Two technical fields that get easily skipped on residential intake:
- Terms. For residential, Due on Receipt is almost always correct. Residential customers typically pay at the time of service or within a few days. Don't default to Net 30 for residential — it'll create accidentally-aging invoices for customers who would have paid the same day if asked.
- Tax category. This often inherits from a default and you don't have to think about it. But if you serve a tax-exempt customer (church, nonprofit, government), set the right category at Account creation. Far easier than fixing every future invoice. See Handling tax-exempt customers.
Step 5 — Schedule the first appointment
Now create the job and schedule the appointment in the same flow. Two common patterns:
- Service Call. Customer has a problem now, wants someone out. Pick the soonest reasonable slot, or suggest two windows ("we have someone available between 9 and 11 tomorrow morning, or between 1 and 3 in the afternoon — which works better?").
- Estimate visit. Customer wants a quote on bigger work (full system replacement, large remodel). Schedule a non-urgent visit, often a longer window.
Capture on the job:
- Job type (so the right industry forms attach automatically — see Industry forms — what attaches when).
- Description of the customer's complaint, in their words. Not your interpretation. "AC making clicking noise from outside unit, started yesterday afternoon, still cools but loudly" is useful. "Service call" alone is not.
- Any access notes. Gate code, dog in the yard, "use the side door, the front bell is broken," "kids will be home, ring the bell."
- Any equipment notes they volunteer ("It's a Trane, about ten years old, my husband had the model number written on the side"). The tech can confirm on arrival but knowing in advance helps them stock the truck.
Step 6 — Send the confirmation
The system can send the confirmation automatically once the appointment is created — and should be configured to do so. But during the intake call, double-check that the customer received it before you hang up. "I just sent you a confirmation by text — does that come through okay?" If they say "I didn't get anything," check the phone number on the Account and re-send. Catching a typo'd phone now is easier than catching it tomorrow morning when the tech is in the driveway.
For email-only customers (no SMS), the confirmation goes by email. Same check: "Just so I know you got it, can you confirm you see the appointment confirmation in your inbox?"
See Customizing the appointment confirmation for what the customer sees.
Step 7 — Set the relationship's tone
Last thing before you hang up: tell the customer what to expect.
- "We'll send you a reminder text the day before."
- "On the morning of the appointment, you'll get an 'on the way' text once the tech is heading over."
- "After the visit, you'll get an email with the bill — you can pay online with the link, or write a check, whatever you prefer."
Customers who know what to expect call you less, complain less, and pay faster. That thirty seconds of expectation-setting on the first call is worth its weight in gold.
A worked example
Phone rings at 2:14 PM. Caller is Bob Jim, says his AC quit working last night.
- Search. Type "Jim" in search. No results. Type the phone number. No results. Confirm: this is a new customer.
- Create the Account. Type Residential. Service address: 123 Main St, Anytown. Billing address: same. Default terms: Due on Receipt. Default tax category: standard.
- Create the primary Contact. Bob Jim, mobile (555) 123-4567, bob@example.com. Mark primary.
- Schedule. Service Call job, scheduled for tomorrow 9-11 AM. Description: "AC blowing warm air, started last night around 10 PM, no unusual noises before failure. Outdoor unit visible from driveway, may have ice buildup."
- Confirm sent. Bob says yes, he sees the text.
- Expectations. "You'll get a reminder tonight, an 'on the way' message tomorrow morning, and an email with the bill after we're done." Hang up.
Total time: four minutes. Tomorrow morning, the dispatcher sees a confirmed appointment with everything they need; the tech sees an address they can navigate to and a description that lets them load the right parts; the customer goes about their day knowing what to expect. That's the goal.
What can go wrong
- Skipping the search. Creates duplicates. Fragments history. Causes downstream "where's my invoice?" confusion when the customer logs into a portal that doesn't recognize them. Always search first.
- Treating the second adult as not worth capturing. They are. The first time you need to call the household and the primary doesn't answer, you'll wish you had the secondary's number. Capture both.
- Defaulting residential customers to Net 30. They'll forget. They'll age. You'll be chasing money you would have collected the day of service if you'd just asked for it. Default to Due on Receipt for residential.
- Skipping the service-vs-billing-address distinction. They're often the same — set them equal explicitly. They sometimes aren't. Captured correctly on day one means correctly forever.
- Not verifying the appointment confirmation went through. A customer who didn't get the confirmation usually didn't notice they didn't get it. Tomorrow they're not home because they didn't see the reminder. Confirm before hanging up.
- Over-capturing on the first call. It's tempting to ask for credit-card-on-file, marketing preferences, payment method preferences, and twenty other things. Don't. Capture what you need to do this job well; capture the rest as it becomes relevant. A five-minute intake feels professional; a fifteen-minute intake feels like an interrogation.