Connecting Stripe
Until you connect a payment processor, your invoices have no "Pay Now" button — every payment requires the customer to call you, mail a check, or hand you a card you key in manually. Connecting Stripe takes about ten minutes and immediately enables online payment on every customer-facing invoice.
This article walks through the Stripe connect flow, what to verify before letting real money flow, and the safety practices that prevent expensive surprises in your first week.
When to do this
- First-week setup, after your company profile and tax setup are in place. Stripe-connect should happen before you generate any real invoices, so customers can pay them online from the start.
- Switching processors. If you previously used USIO or Authorize.net and want to move to Stripe, the flow is the same.
- Adding a second account. Some businesses run multiple Stripe accounts (e.g., for separate business units). Multi-Stripe setups are more involved — flag it for support if that's your situation.
What you need first
Before you start the connect flow, have these ready:
- An existing Stripe account at stripe.com. If you don't have one, create it first — Stripe will walk you through their own onboarding (legal entity, bank account for payouts, identity verification). That's a separate ~30-minute process and lives entirely on Stripe's side.
- Your business's bank account info (routing + account number) — Stripe asks for this to deposit your payouts. Money flows: customer's card → Stripe → Stripe holds 1–2 days → deposits to your bank.
- Your business's tax ID (EIN) — Stripe requires this for issuing 1099s and for tax-reporting compliance.
- A test card number from Stripe's docs — for the test charge step. The classic test card is
4242 4242 4242 4242, expiry any future date, CVC any 3 digits.
If your Stripe account is brand new and not yet "live" (Stripe needs to approve it for real payments after their identity-verification process), you can still connect it to Suprata. Real charges just won't process until Stripe activates you.
The connect flow
1. Open the enrollment page
The credit-card enrollment screen is the entry point.
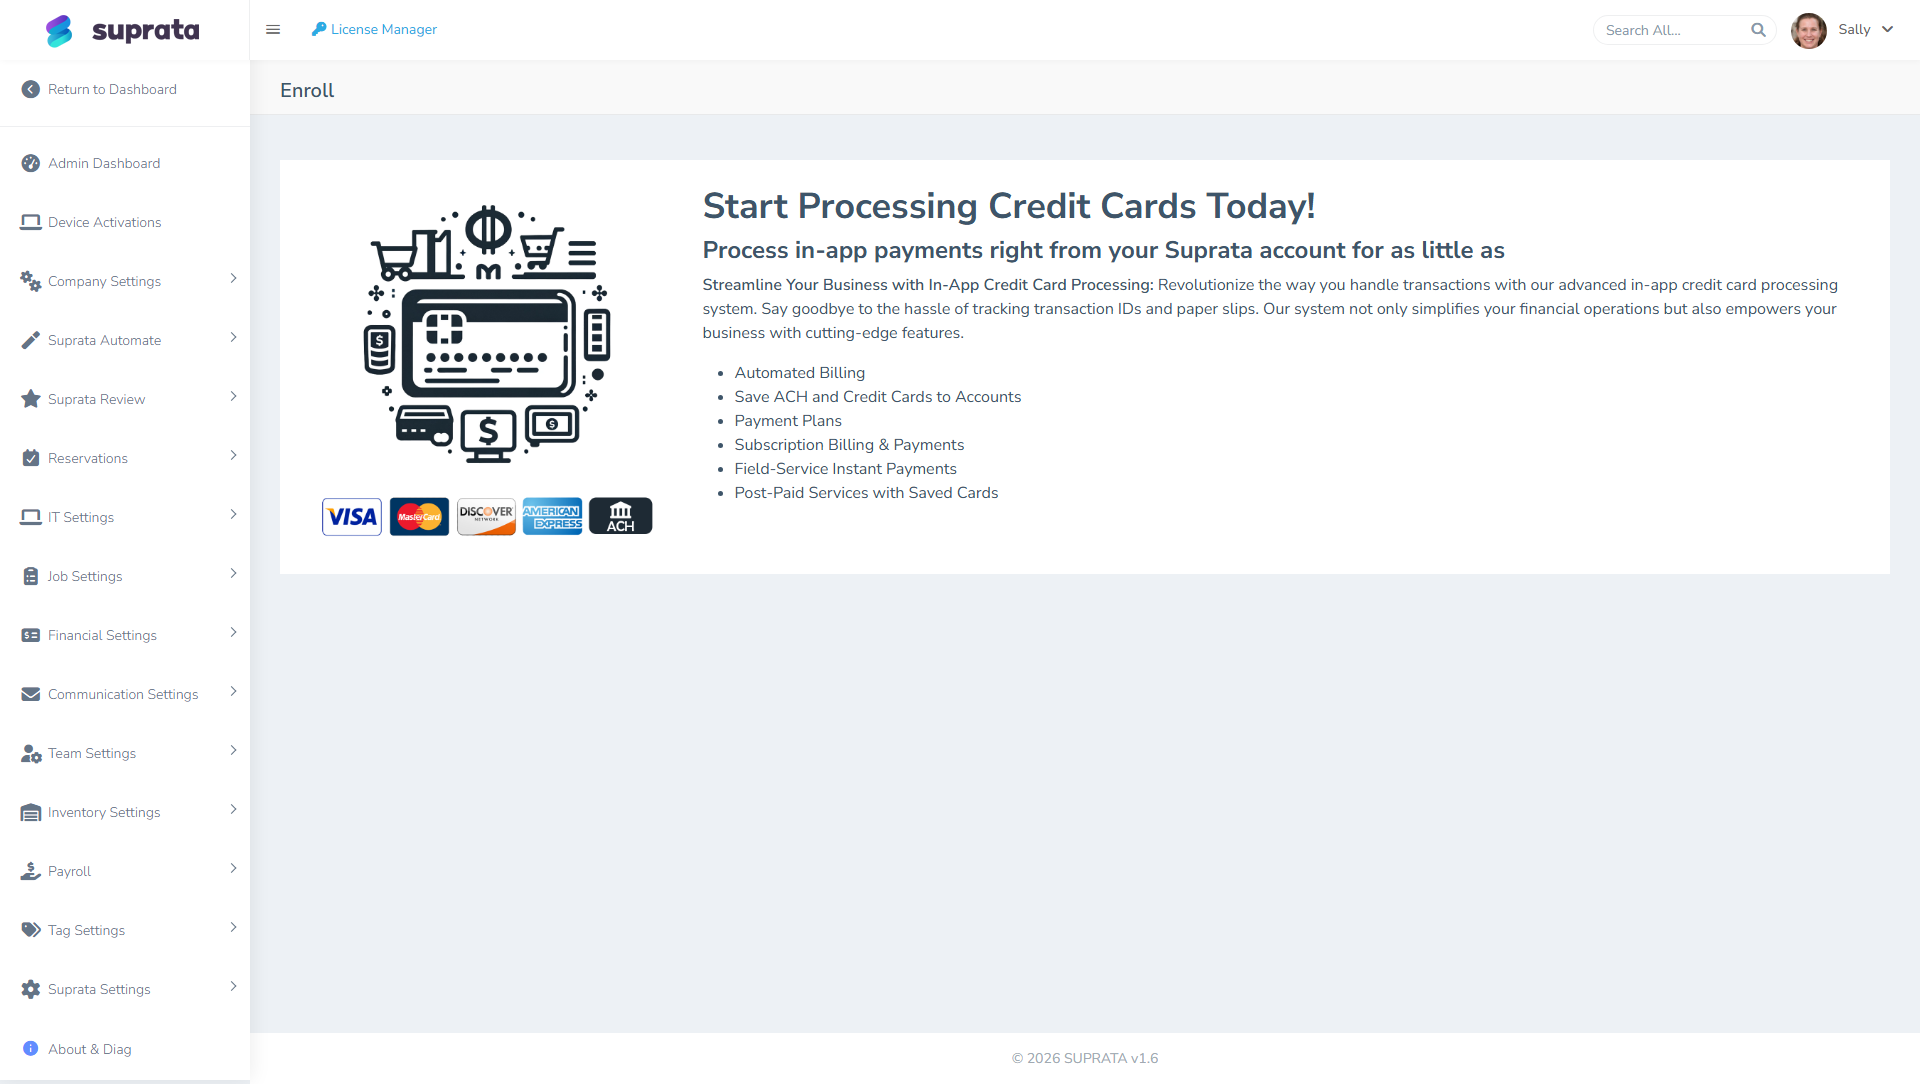
This page lays out what you'll get once a processor is connected: automated billing, saved cards on accounts, payment plans, subscription billing, instant in-field payments, and post-paid services with stored cards.
2. Authorize Suprata to connect to your Stripe account
Click through to start the Stripe connect flow. You'll be sent to Stripe's own login page, where you sign in with your Stripe credentials. Stripe will then ask you to authorize Suprata to:
- Charge cards on your behalf.
- Issue refunds.
- Read your account's transaction history.
- Receive notifications when payments succeed or fail.
Approve the authorization. Stripe sends you back to Suprata and confirms the connection.
You should see a success message and your Stripe account name displayed — that confirms the link is live.
3. Configure payment behavior
Once connected, decide a few defaults:
- Which processor is primary — if you have both Stripe and another processor connected, only one is the primary used for invoice payment links. Make Stripe primary.
- Which methods are accepted — credit cards, ACH, both. ACH (US bank-account direct debit) is much cheaper than cards (~$5 flat vs. 2.9%+30¢) but settles slower (3–5 business days vs. instant card auth).
- Surcharging (if applicable) — some businesses pass card processing fees to customers. Stripe and your local jurisdiction have rules about this; consult before enabling.
- Saved payment methods — whether to store customers' cards on file for repeat use. See Saved payment methods — when to use them.
Testing before going live
Do this before you let any customer pay you through Suprata-connected Stripe. A 15-minute test now saves a 6-hour cleanup if something is misconfigured.
Test 1: take a $1 charge end-to-end
- Create a test invoice for $1 to a fake customer (or a customer you trust who can ignore the real receipt).
- From the invoice's public link (the same one a customer would see), click Pay Now.
- Enter Stripe's test card:
4242 4242 4242 4242, any future expiry, any CVC. - Submit.
- Watch for: invoice status flips to Paid, payment row appears in the invoice's payment list, customer receives a receipt email, your Stripe Dashboard at
dashboard.stripe.comshows a$1.00charge.
If all five happen, the connection is solid.
Test 2: refund the $1 charge
In the Suprata invoice, find the payment row → click Refund → confirm. Watch for:
- Refund status appears in the invoice's payment list.
- Stripe Dashboard shows the refund.
- Customer receives a refund-confirmation email.
If Stripe shows the refund but Suprata doesn't, the connection isn't getting notifications back from Stripe — recheck the link. If Suprata shows the refund but Stripe doesn't, that's a more serious mismatch — pause and contact support.
Test 3 (if using ACH): take a small ACH charge
ACH is meaningfully different. Test it separately. Use Stripe's test bank account routing/account: 110000000 / 000123456789. ACH charges take days to settle in test mode too, so you'll need to come back later to confirm settlement.
Common mistakes
- Skipping the test charge. Your first real customer's invoice fails because of a connection issue; you don't notice for two days; meanwhile six other customers also fail. Always test on day zero.
- Connecting Stripe Test mode and forgetting to switch to Live. Stripe has separate Test and Live keys. The connect flow defaults to whatever Stripe-side mode you're in. Double-check the indicator says Live before real customer charges.
- Enabling autopay on saved cards before you've done one manual charge. Automated charges that fail are 10x harder to debug than manual ones. Take at least one manual end-to-end charge first.
- Forgetting to set up bank payouts in Stripe. Charges pile up in your Stripe balance and never deposit. Stripe pays out daily once a bank account is linked, but if you skipped that during Stripe's own onboarding, your money just sits there.
- Using a personal credit-card processor account. Stripe accounts should be in your business's name with your business's bank account. Personal accounts violate Stripe's TOS for B2B use.
What happens after a successful connect
Each invoice you send now has a "Pay Now" link in the email. The customer:
- Clicks the link.
- Lands on a public invoice view (no login required).
- Clicks "Pay Now" → enters card or ACH info.
- Stripe processes the charge.
- The invoice status flips to Paid in Suprata.
- Stripe deposits the funds to your bank within 1–2 business days for cards, 3–5 for ACH.
- If you're connected to QuickBooks, the payment also pushes to QB automatically.
You don't have to do anything in the customer payment flow itself — it's hands-off after setup.
Surcharging, fees, and customer disputes
Three things to plan for:
- Stripe's fees. Standard rates: 2.9% + 30¢ for cards, 0.8% capped at $5 for ACH. These come out of the customer's payment before deposit, so a $100 invoice paid by card nets you ~$96.80. Build that into your pricing if margin matters.
- Surcharging customers. Some industries can pass card fees to customers. Stripe supports this in compliant ways but it requires configuration; consult Stripe's docs and your state's laws first.
- Disputes (chargebacks). A customer disputes a charge with their bank → Stripe pulls the funds back and charges you a $15 dispute fee → you have a window to provide evidence (the signed work order, photos, communication). Suprata's invoice timeline is your evidence trail; keep it clean.
Related articles
- Saved payment methods — when to use them
- Sending an invoice to a customer
- Setting up ACH (and when to prefer it) (forthcoming)
- Handling a customer dispute (forthcoming)
- QuickBooks prerequisites (forthcoming)